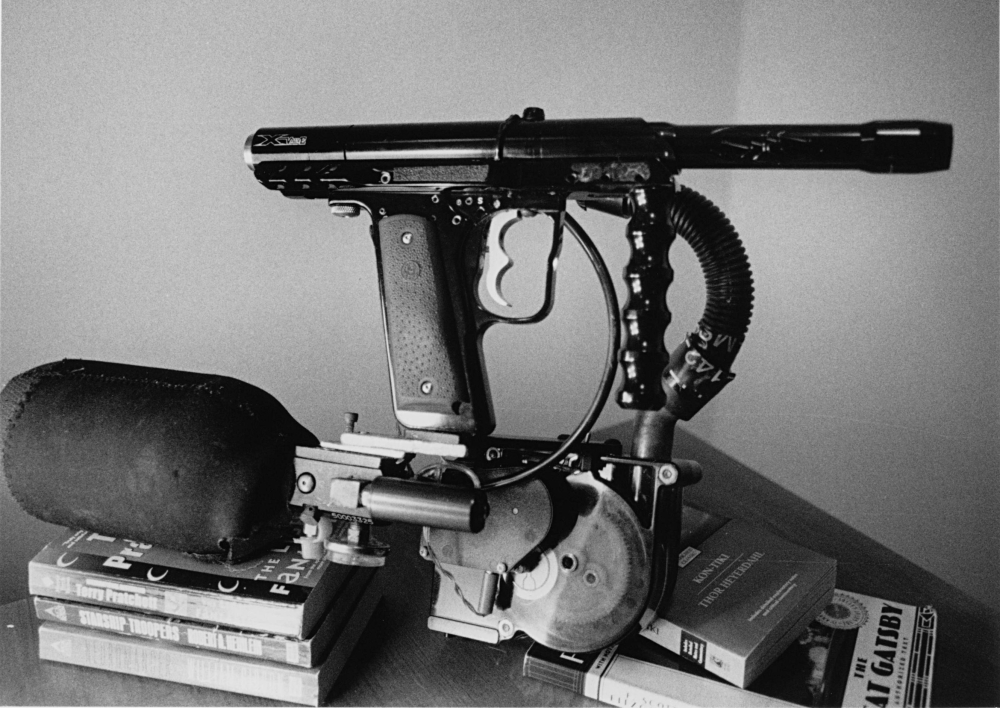
In this project I describe how I made a unique hybrid electronic/pneumatic firing system for Airgun Designs X-Valve and RT-valve paintball markers. This system is very highly performing and has advantages beyond anything ever offered by AGD themselves to date, bringing out the full potential of the elegant Automag action design.

Years ago, I was part of a 3-man paintball team. We practiced a lot and went to the occasional tournament when we were feeling particularly on top of things. Paintball tournaments cost hundreds of dollars to enter, but since we always managed to "place" and win modest prizes, it was free fun for quite a while, until our luck ran out and we got stuck with the full bill for a tournament. After that I went to college, other members got married and we broke up the team.
In the tight indoor speedball games we played, the strategy involved locking down the field with carefully chosen lanes of fire while one player dashed ahead attempting to get an early "flag pull" which was worth many points. I was always the player that 'got' to pull the flag, so I got pelted a lot and had to squeeze into some very small spaces. I didn't fire my marker a whole lot compared to other players and so I valued a lightweight, compact setup. I settled eventually on the Airgun Designs automag since the very clever "blow-forward" design results in an extremely compact "single tube" form factor that is smaller than just about any other design. In addition Airgun Designs is the only company sensible enough to realize that paintball guns are not wielded anything like firearms are, so they offer "Y-grip" frames that angle forward like the grip of a megaphone rather than backward like the grip on a firearm. With a Y-gripped automag, a small air tank, and a chopped-off barrel, I had a setup that was easy to hold in one hand while crawling, crouching and contorting on the field.
On those occasions when I actually did get to fire my marker, it would be in short bursts, and I found myself wanting more rapid-fire capabilities. The AGD X-valve has a sensitive mechanical trigger that allows 5+ balls per second firing, which is very good for a mechanical design. At this time however, electronic markers were coming out whose trigger pulls were like the click of a computer mouse, so with a double-finger trigger, burst rates of fire of 10bps or more were quite common. I would not give up the other overwhelming advantages of my compact setup to switch to a bulky, heavy and unergonomic electronic marker, so I engineered an electronic firing system for my Automag that made it fire every bit as fast as any other marker available at the time.

The design breakthrough that allowed me to build such a high-performing firing system into the compact grip of my automag was the electric over pneumatic design that I came up with. Low-end electronic markers used a solenoid to trip the sear of an otherwise mechanical design. High-end markers were different designs altogether being either multiple-tube poppet valve systems or converted Autocockers. I knew that I could not hope to find a solenoid to trip the sear of my Automag fast enough to fire the marker 10+ times per second with adequate cycling dwell, and if I did, it would be heavy, and require an even heavier battery. In fact, Airgun designs made a marker on this principle called the E-mag; it used a giant solenoid and battery pack. This made it one of the heaviest markers on the field at the time, and of course it could not be used with a Y-grip, giving it no advantage over other electronic designs.
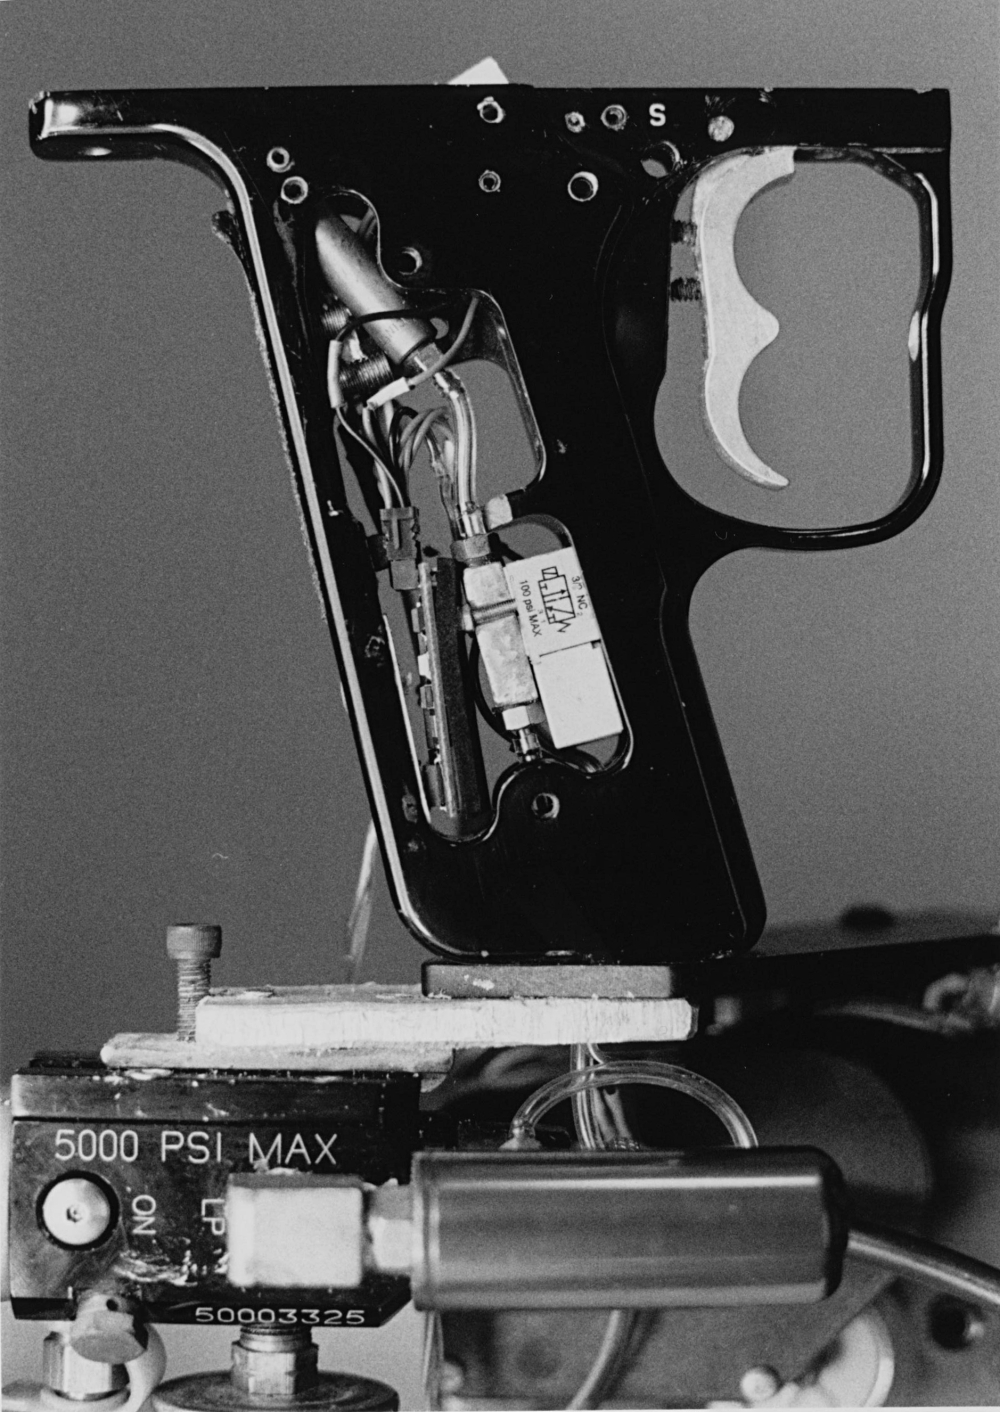
One day I realized that with 45 cu. in of 4500psi air available, using electric solenoids to apply force to the sear was a waste of resources. My design uses a micro-solenoid valve to fire a pneumatic ram to trip the sear with many pounds of force extremely quickly. The tiny solenoid valve, with its small switching task, lasts about 30,000 shots on one rechargeable 9v battery, and the pneumatic ram was powered off of the same air source as the marker, with negligible effect on air efficiency.
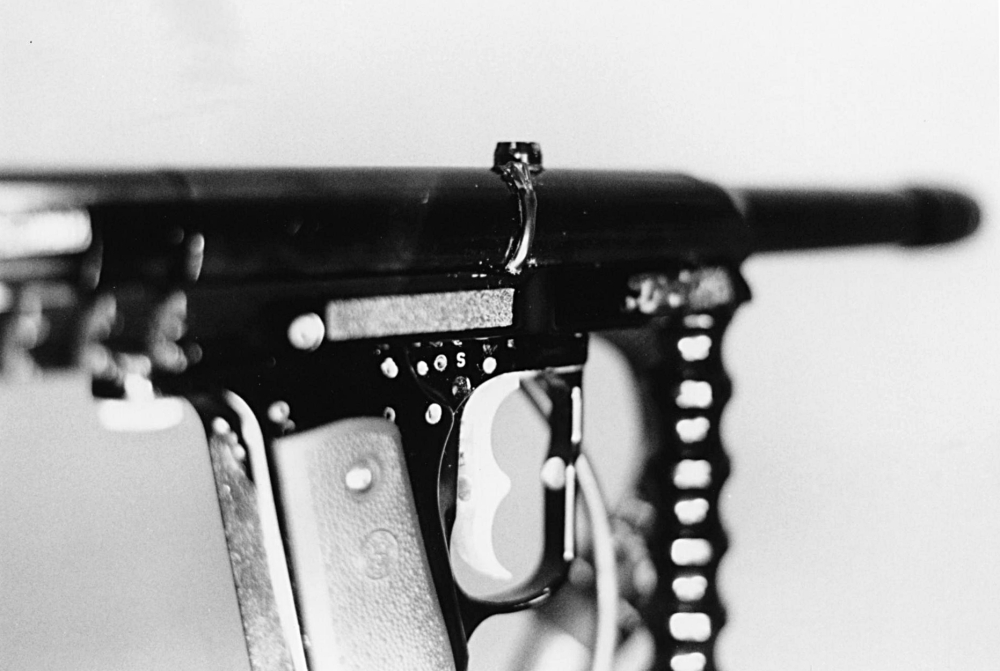
Like many of my projects, this one was constrained by a complete lack of machining capabilites and thus was affected entirely with a Dremel, files, sandpaper, and a hand-drill in my apartment in college. I was able to fit the pneumatic ram into the Y-grip such that it would press on the sear, with enough room to fit the solenoid valve and microcontroller in underneath it. I also laboriously filed out the area behind the trigger to fit a microswitch. The trigger is adjustable with grub screws both for pre-travel, overtravel, and "spring tension". Instead of using a return spring, I actually used opposing rare-earth magnets to provide the trigger's return force. The opposing magnet in the grip is backed by a setscrew that allows it to be moved closer to or farther from the one in the trigger. The low-pressure regulator was screwed into one of the guage ports on the main air tank, and the 9v battery fit underneath the padded tank cover, with a wire running into the grip to power the electronics. A light-tunnel made from fiber-optic material stolen from my roommate's Christmas tree allowed me to see the onboard microcontroller LED for in-situ programming, lending a rather professional exterior appearance. In fact, it was pretty difficult to notice that the marker was modified at all based on appearance. The main clue was the LPR on the tank regulator and the thin 1/8" hose running into the bottom of the grip

Performance of the marker was in all ways satisfactory. I put it together initially and expected something to break and need fixing or reconfiguring, but amazingly it stayed in that initial state for the many months I used it, with no adjustments other than to air pressure, trigger pull, and programming. By fine-tuning the timings I was able to test the marker on full-auto to a sustained firing rate of 20 rounds per second, which required a special loader to even load the paint that fast (the Q-loader). Since the control pneumatics run on about 100psi, and the marker quits working at about 500psi, the performance of the control pneumatics is not effected by the changing tank pressure.
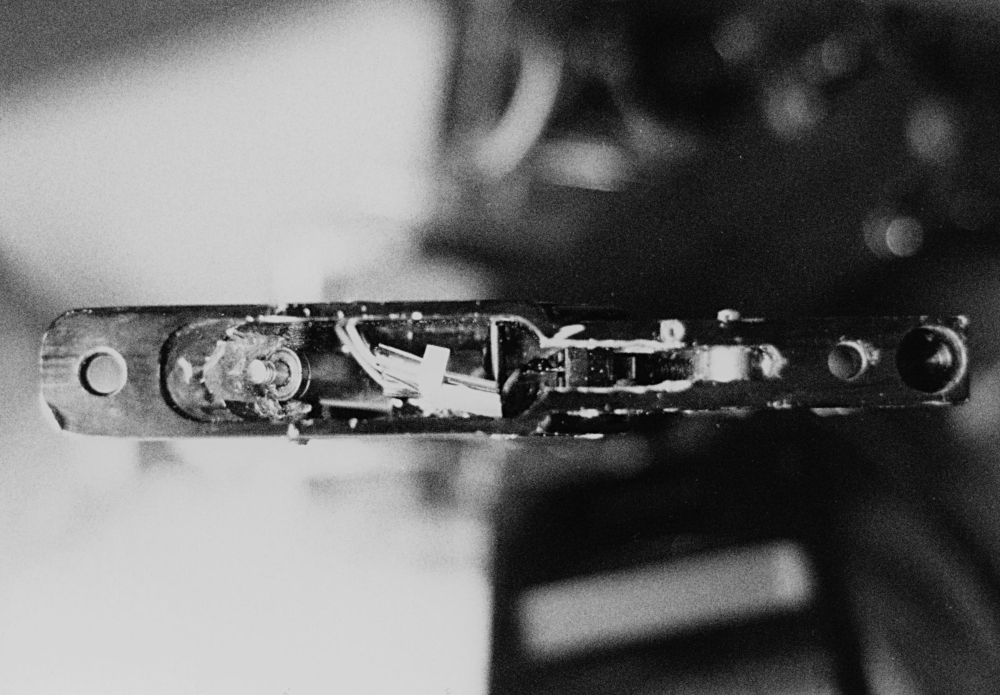
Since the Automag is, in unmodified form, a mechanical marker, it features a singularly clever mechanical anti-chop system that prevents breaking mis-loaded paintballs. It is possible to stick one's finger (or even tongue) in the breech and fire the marker without causing any injury, the action of the bolt is so soft. Since I had digital electronics available, I was not satisfied with only 1 layer of anti-chop protection and so I drilled the breech of the marker and installed an infrared break-beam that would only allow the marker to fire once a paintball was fully seated in the chamber. This double-layer of protection resulted in absolutely no chopped paintballs, a glorious result which would be worth the electronic modification all by itself.
A second use of the break-beam was in triggering my electronic hopper and warp-feed system. I ran a wire from the marker to the warp feed and wired up a transistor so that the hopper/warpfeed system would run the instant the trigger was pulled. But in addition, a loop is inserted in the code so that the hopper system will ALSO run if the IR breakbeam is not "broken" by a loaded paintball, so the hopper system runs when you are firing, or when there is no paintball loaded. This results in the rather intelligent behavior that when you start running low on paint, the warp feed will run frantically as much as necessary to keep the breech full, even when you are not firing, signalling that you are low on paint. Upon being resupplied with paint, it will run until the breech is once again hosting a paintball and then stop. This is much improved behavior compared to most warp-feed setups which naively run a small burst with every firing cycle.

Money and time constraits prevent me from playing paintball any longer, so I am quite out of touch with the current tools available. Even so I will never sell my customized Automag. To me, it was a project where everything really came together matching my conceptualization and performance goals. By taking the smallest, lightest marker design available and modifying it to "run" as well or better than any of the other commercially available offerings, I can say that by my criteria, I certainly had the highest-performing marker in the world, at least for a while.
Back to Projects
Home